

This is the 3rd of a 5 part series on making castle tiles. To start at the beginning, click here.
Once you have a checklist of the tiles you need for your scenes, you look in your Big-Box-O-Tiles and see if you have any tiles that match. If you do, you are golden!

If you are just starting out, you have some work to do!
Cut Out Simple Quick Floors
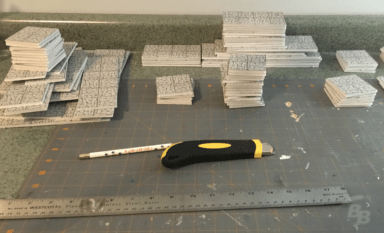
Eventually, we’ll trim off some of the floor to add walls where needed. But for now, we’ll just focus on the floor, so every type of tile is the same. We’ll get them cut out very quickly and worry about the next step later.
Materials
- Foam board from dollar store (NOT from art supply store)
- Paper
- Spray Adhesive
- Other standard craft supplies like scissors and utility knife
Directions

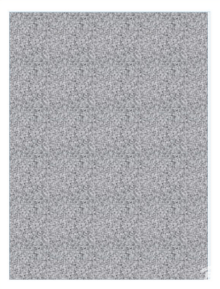
If you want your printouts to be more gray, use colored gray cardstock instead of plain white. I bought a ream of gray cardstock off Amazon that I use all for my castle tile printing.


For smooth edges, make sure you change the blade in the utility knife periodically. I use a self-healing mat under the foam board, but you could use a piece of cardboard to protect your work surface. Save the scraps of foam board for making walls later.


So now you have a whole bunch of tiles without walls and you are an expert at cutting foam board. (Did you remember to change your blade frequently?)
If you don’t have OCD like Bitzy, you could stop here. You can make rooms that are kinda like what you want.
But if you want lovely tiles with stone-look walls, read the Building a Great Big Beautiful Wall to learn how to trim the tiles and add those walls to them.
If you have any questions, ask them in the comment field below.
Quick tip: If you end up with spray adhesive on your hands, you can use baby oil or olive oil to remove it.