
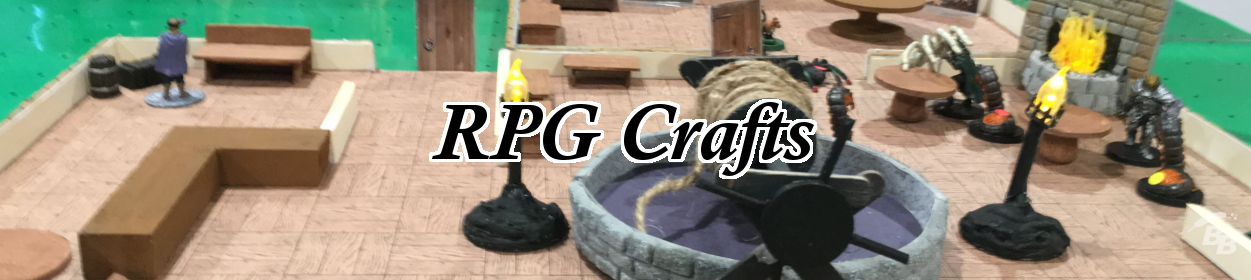

This is the 4th of a 5 part series on making castle tiles. To start at the beginning, click here.
We have a lovely stack of tiles but no walls. One option is to use them as they are. You can use standup doors to show the doorways and tell the players to assume there are walls around the perimeter.
But if you want more of a 3D effect, you can add walls to the tiles made out of strips of foam board.
Adding Walls to the Tiles
The next step is to trim the tiles and add foam board strips to them. You will be adding texture to the wall strips to indicate a stone brick patter. It’s time to whip out your trusty glue gun and get to work!
Materials
- Foam board from dollar store
- Paper
- Glue gun and glue sticks
- Other standard craft supplies like scissors and utility knife
Directions


- A – Plain old floor tile. You are done! Hooray! Throw it in the bin of completed tiles.
- B – Side Wall. You need to trim 1/4″ off of one side where you will be adding a wall. Mark where you want to trim the tile on the back for reference.
- C – Corridor. Mark two opposite sides where you will be trimming to add walls.
- D – Corner. Mark two adjoining sides.
- E – Closet. Mark three sides. Lots of trimming on this one.
- F – Rounded Corner. Take out a circle template also known as a mug, glass, or jar of a radius close to what you need. Trace on the face of the tile where you will be cutting.
- G – Angled Corner. Draw a line on the face of the tile connecting two opposite corners. 3.

And for goodness sake, tell me you are still using either a self-healing mat or something else to protect your mother’s good dining room table!

Trim 3/4″ strips of wall-texture cardstock using your utility knife and straight edge.

Quickly attach the glued edge to the paper strip. Let it cool. Trim the paper stud flush with your scissors.

Now you get to see why it was so important to use cheapo dollar store foam board instead of the good stuff. You can peel the paper backing easily off of cheap foam board. There is no need to spray it with water or any of that nonsense. Just peel up a corner and rip!
Peel the paper off of just one side of the foam board strip. You will be decorating that side of the wall to act as the outside of your castle.

Lightly score two long parallel horizontal lines on the foam strip with your utility knife. They should be a third of the way from the long edges of the strip. (Do NOT cut all the way through the foam strip or you have to start over.)


Let it cool and trim it flush with your scissors. Add the tile to a bin of almost complete tiles.


Use the mechanical pencil with the lead retracted to etch a brick pattern in the foam along the scored line. Be gentle and just lightly glide the pencil around the edges to compress the foam. You are defining the grout lines and smoothing the corners of the bricks.

But they do look a little pale. If you are doing an ice palace, you are done.
Otherwise, read I See a White Wall and I Want to Paint it Gray to hear how to paint these walls to really make your hard work stand out!
If you have any questions, ask them in the comment field below.